Uncategorized
How to Install Cornhole Board Decals and Wraps
Jul
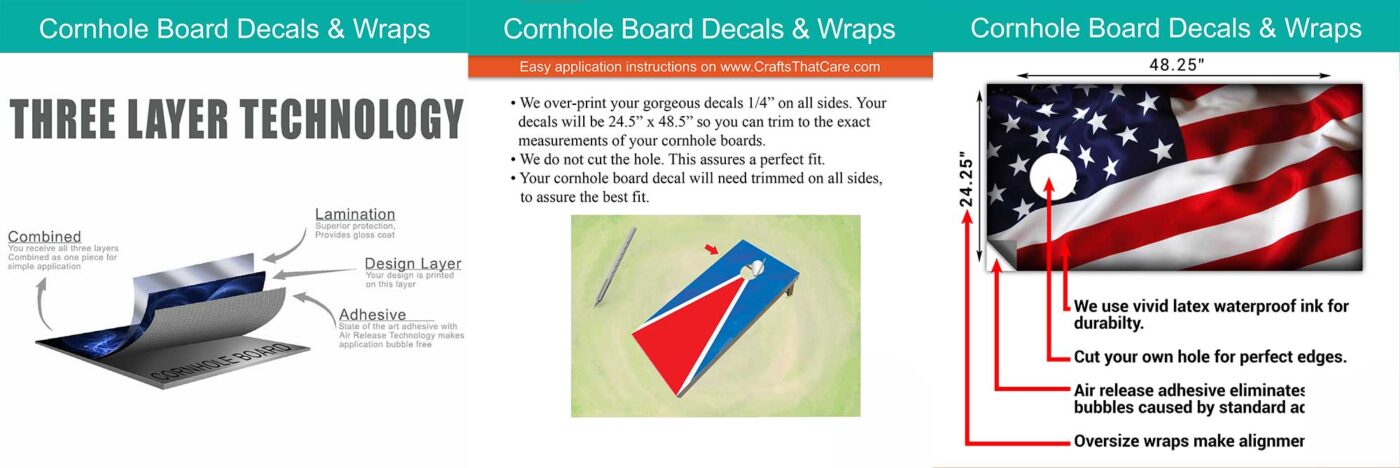
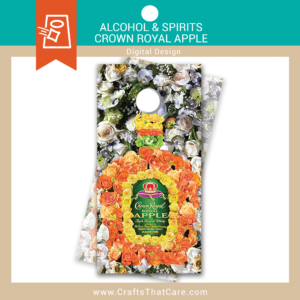
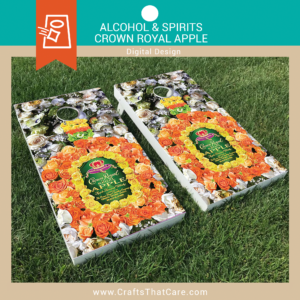
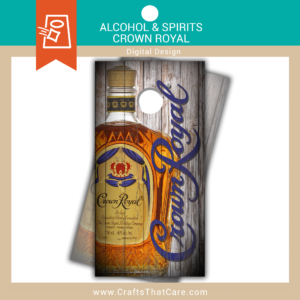
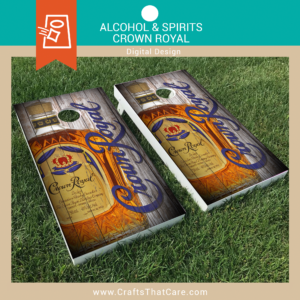
Our gorgeous cornhole board decals and wraps are over-printed by 1/4″ on all sides, for a full measurement of 24.5” x 48.5”. Because folks use many different methods to build boards, this size is sure to fit to your plain or painted wood cornhole boards.
We do not cut the hole…this assures a perfect fit.
Before you begin applying the vinyl wrap, make sure your cornhole boards are set in a clean working space.
Make sure the surface of your cornhole boards are free of any dirt and debris.
You will need the following materials in order to install your cornhole wrap:
•Squeegee
•Masking or painter’s tape
•Utility knife or scissors
•Water-based polyurethane
•Paint brush or roller

STEP 1: Unroll your cornhole wraps from their shipping container and lay on a flat surface.
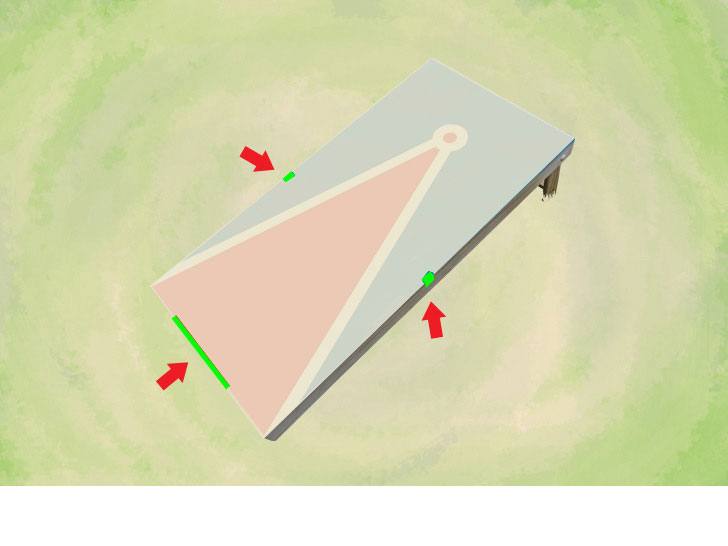
STEP 2: Using masking tape, carefully tape down the bottom and sides of the decal
to the cornhole board, as shown.

STEP 3: Pull down the top section, above the tape and carefully remove
the backing paper to expose the sticky side.
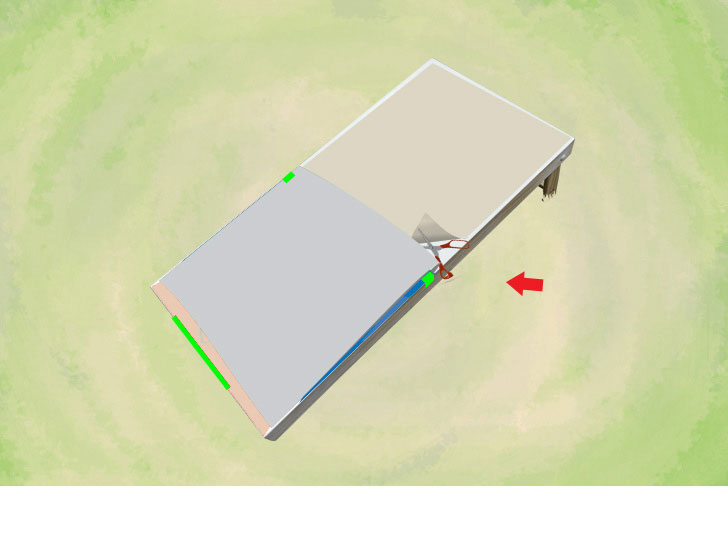
STEP 4: Using scissors, or your utility knife, remove the entire top section of the backing paper.
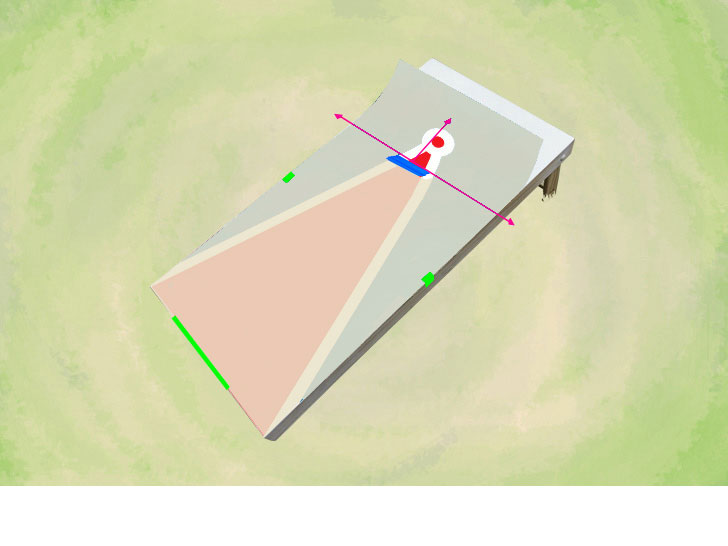
STEP 5: Starting just above the tape, where you removed the backing paper, gently press the sticky side down to the cornhole board.
Use your squeegee to remove any air bubbles as you work your way up.
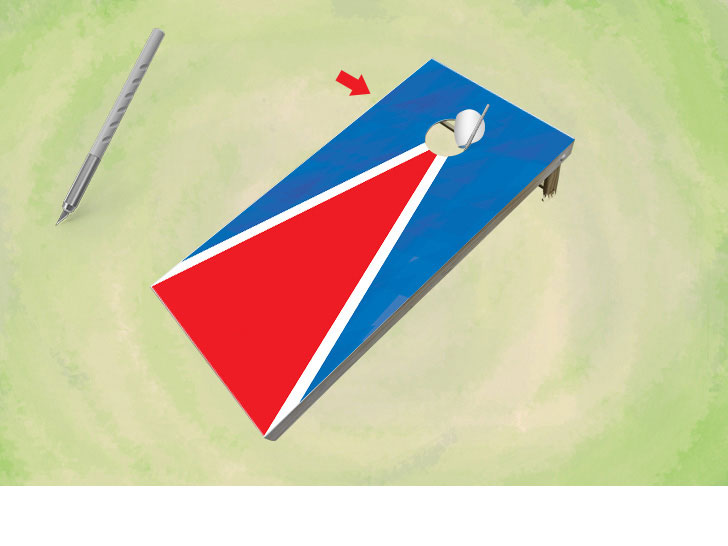
STEP 6: After removing all air from underneath the wrap, gently peel away masking on top of the graphic so that the graphic does not lose adhesion to the board. Use your utility knife to carefully cut out the hole.
STEP 7: Remove the tape and fold back the bottom of the decal. Carefully remove the paper from the bottom and squeegee your way from the middle of the board to the bottom.

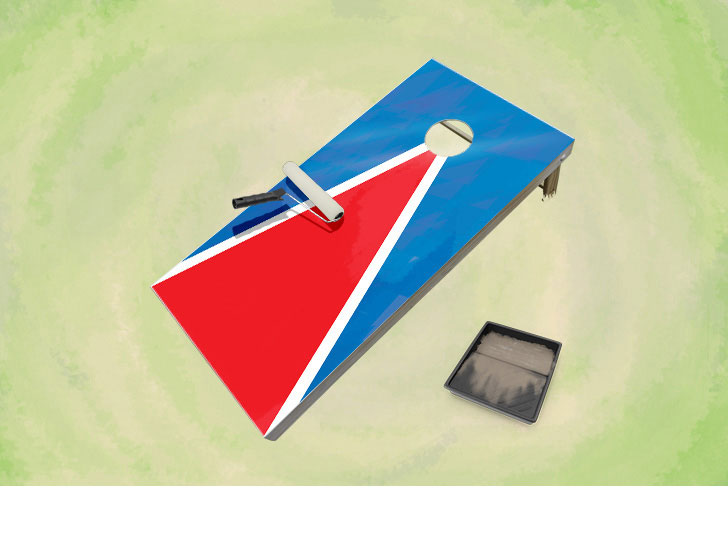
STEP 8: If you applied decals with over-laminate, you’re done and ready for game play!
Otherwise, using your paint brush or roller, cover the entire board/decal with water-based polyurethane.
shop by category

Custom Designs


Whiskey & Bourbon
Whiskey & Bourbon